About six years ago, I started using Docker container technology. Although it’s quite amazing, it can be hard to understand. One issue I had was to apply changes. Let’s demonstrate this by deploying custom HTML pages to a webserver container as simple example.
The example: Custom HTML files in a nginx webserver image
We have a file called my_index.html, which got copied on top of a nginx webserver image like in this Dockerfile:
FROM nginx:1.21
COPY my_index.html /some/content:/usr/share/nginx/html/index.html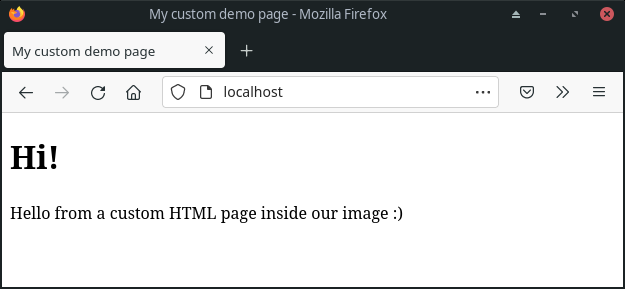
While this simple example works, we usually don’t just deploy something without any further changes, like in this scenario.
Our HTML file changed – So we need to restart our webserver, right?
On a webserver which is installed traditionally (for example using the package manager), changes to HTML files usually appear directly after refreshing. Some deeper changes may require a restart – for example when the webserver configuration gets modified. But in our Docker example, we change the HTML file and nothing happens. So we propably need to restart the container to see them?
$ docker stop my-webserver1
$ docker start my-webserver1
Still doesn’t work, but why? How can we modify the content inside our container? This issue is the result of a misunderstanding how container technology like Docker works. To understand and fix this issue, we need to look a bit deeper.
How images and containers works

You can think of an image as an template like a cookie cutter: Once you have a cookie cutter, you can produce as much cookies as you like – all having the same shape and form. I’ll use the low level docker build command, which is excellent for getting a basic understanding. There are easier alternatives if you know this technology, I’m going to show them later.
docker build -t my-nginx-image .This command will create a image called my-nginx-image (which is a tag for Docker, so we use the -t switch) from the Dockerfile in the current folder (referenced by the dot). From a technical perspective, the dot is the build context and Docker is looking there for a file called Dockerfile by default. It will take some time, then our new image can be found using docker image ls (which means list all images):
$ docker image ls | grep my
my-webserver                      latest       a6e7a089d7eb   2 minutes ago   141MB
Since this image is only a template, it actually won’t do anything. In the tasty example, we now produced a cookie cutter. So let’s bake some cookies: In the world of container this means to start containers. A container uses a image and starts the process defined in it’s entry point – in our example this is nginx as webserver.
docker run -d -p 80:80 --name my-webserver1 my-nginx-imageIt will start a webserver, name it my-webserver1 and tell Docker to use our previously created Image, which was named image my-nginx-image. There is something special here: -p 80:80 forwards the container port 80 to our host on 80. Otherwise we can’t access our webserver from the host system, this is only needed for containers who are opening sockets. With the -d flag, the container is detached – So no foreground process which got killed after we close the terminal. Instead it will run in the background, like Systemd-Services.
The command docker ps shows a list of all running containers with some meta information:
$ docker ps
CONTAINER ID   IMAGE            COMMAND                  CREATED         STATUS         PORTS                               NAMES
52de34cb1a22   my-nginx-image   "/docker-entrypoint.…"   4 seconds ago   Up 3 seconds   0.0.0.0:80->80/tcp, :::80->80/tcp   my-webserver1
The lifetime of images and containers
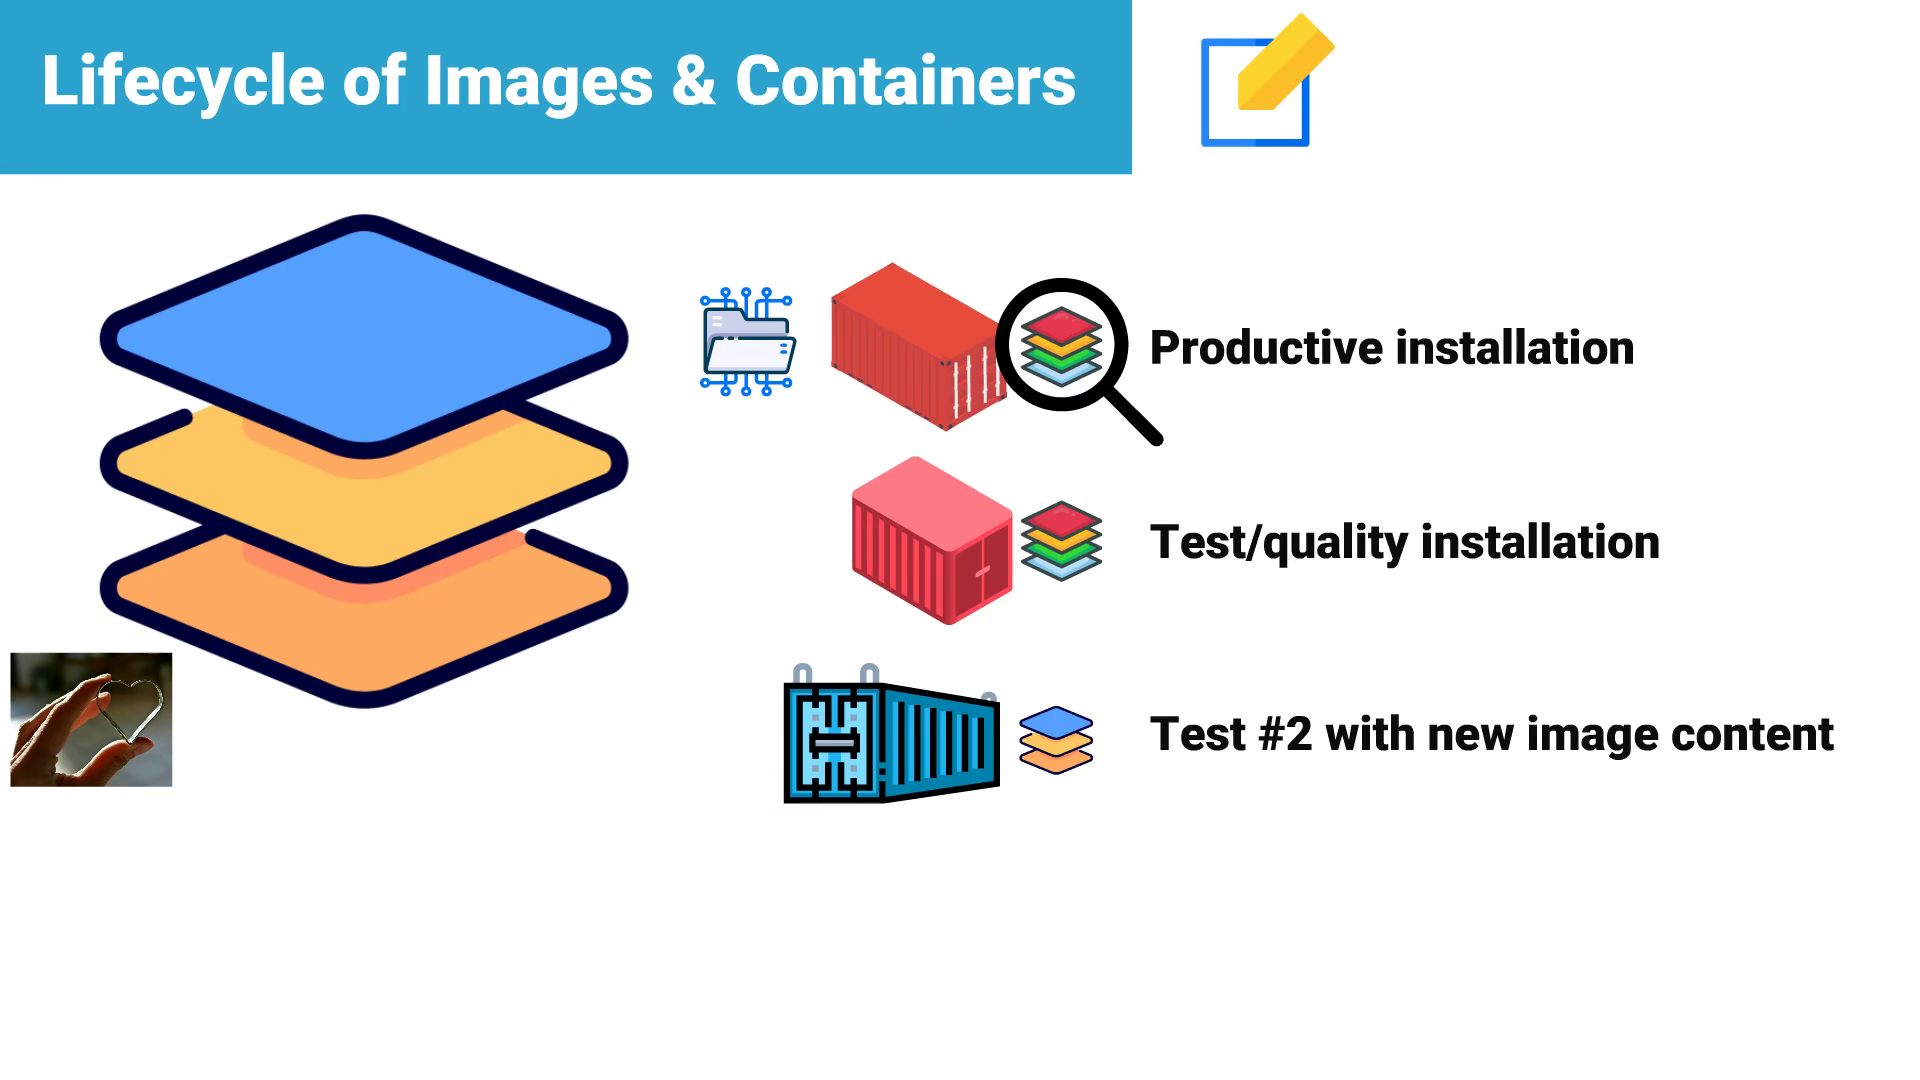
Cookie cutters are usually not thrown away after each cookie. Images are similar, once build they’ll stay as a template and can be reused for multiple containers. For example to host a test or quality and productive environment of the same application. You cannot change the content of an image without rebuilding them – the only exception is to mount volumes, where this is usually used for persistent things created by the container like the data directory of a database.
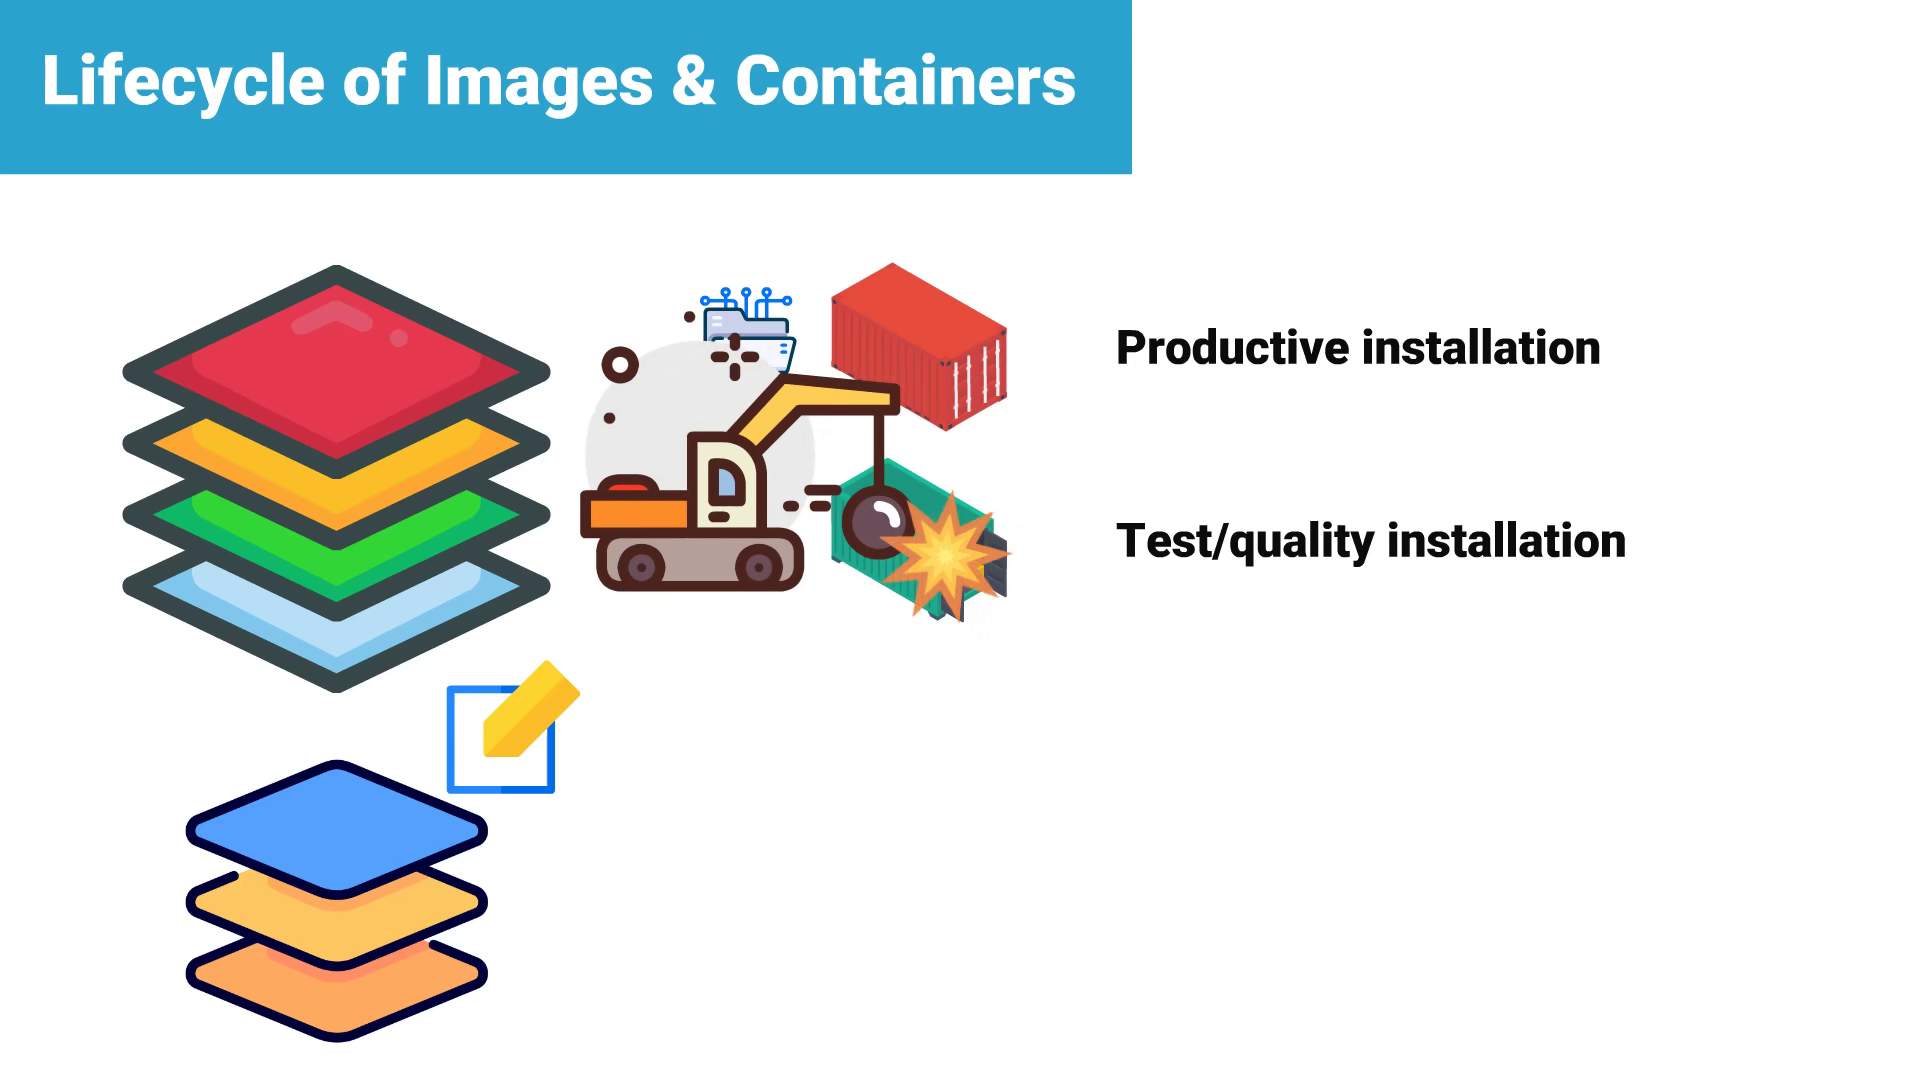
Unlike images, containers are short-lived and thereforce not desired to store persistent data. It’s common to destroy containers, like you would eat a freshly baked cookie. This is not a problem as it may sounds first: Just use the cookie cutter and bake some new identical ones. Docker does the same, the image is used as template to re-generate them and volumes will provide persistent data if required.
A container is only created once by his image. If you modify the image, it’s used for all newly created containers – but not the already existing ones! It’s like you decide to use another cookie cutter: This won’t change the shape of already baked cookies. You need to eat all of them to have only cookies in the new design.
What does that mean in practical?
Since containers won’t taste good, we shouldn’t eat them up. But we can stop and destroy a container running with the old image:
$ docker stop my-webserver1
$ docker rm my-webserver1
If you haven’t already rebuild the image, we need to do this first before creating a new container:
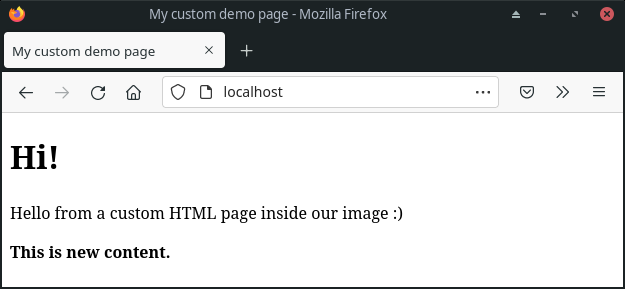
$ docker build -t my-nginx-image .Now we can create a new container. Don’t be confused by docker run. It will first create the container and then start it, not just start it – otherwise it would not apply our changed image. In the browser, we can verify that our new file will be served:
You can simplify this!
When you’re working with Docker it quickly get’s annoying to call three commands (docker stop, docker rm and docker build) for each change. In this case, Docker-Compose will make your life much easier. It’s desired for multi container environments, which you have in most cases today. But even for a single container it has multiple advantages.
Let’s have a look at this by transfering our example webserver to Docker-Compose. You need to create a file called docker-compose.yml at the same level:
version: "2.4"

services:
  my-webserver1:
    build: .
    ports:
      - "80:80"
As you can see, this file is similar to the docker run command. Instead of this, you now just can use:
docker-compose up --build -dIn the background, this command basically runs all three commands above – BUT it will check first if they’re really required! So no time wasting or downtimes when everything is up-to-date. This one of the benefits you get, which made it to my standard way of deploying Docker containers today.
For beginners it has the drawback of hiding all the magic. For that reason I showed you the plain docker commands before and I really recommend this way forst to get a basic understanding how things works. When you have this, it’s a good idea to switch to Docker-Compose, since it’s more productive.